13 NOVEMBER 2019
Three approaches to differentiation in primary science

If you provide your whole class with exactly the same task, it is likely that only a percentage of students will be challenged adequately. Differentiating activities allows your students to show you their capabilities to the highest level possible.
This week, we’re sharing three approaches to differentiation in science, linking them to examples from our Primary Science series. You can try out each of these approaches with your class, wherever you are in the curriculum.
Which approach will work best for you?
1. Differentiation by outcome – enable students to adapt the activity to their capabilities
Provide an activity that will allow students to choose how to show you what they’ve learnt. Instead of telling them what piece of work they need to create, give them options to motivate them and let them adapt their own learning.
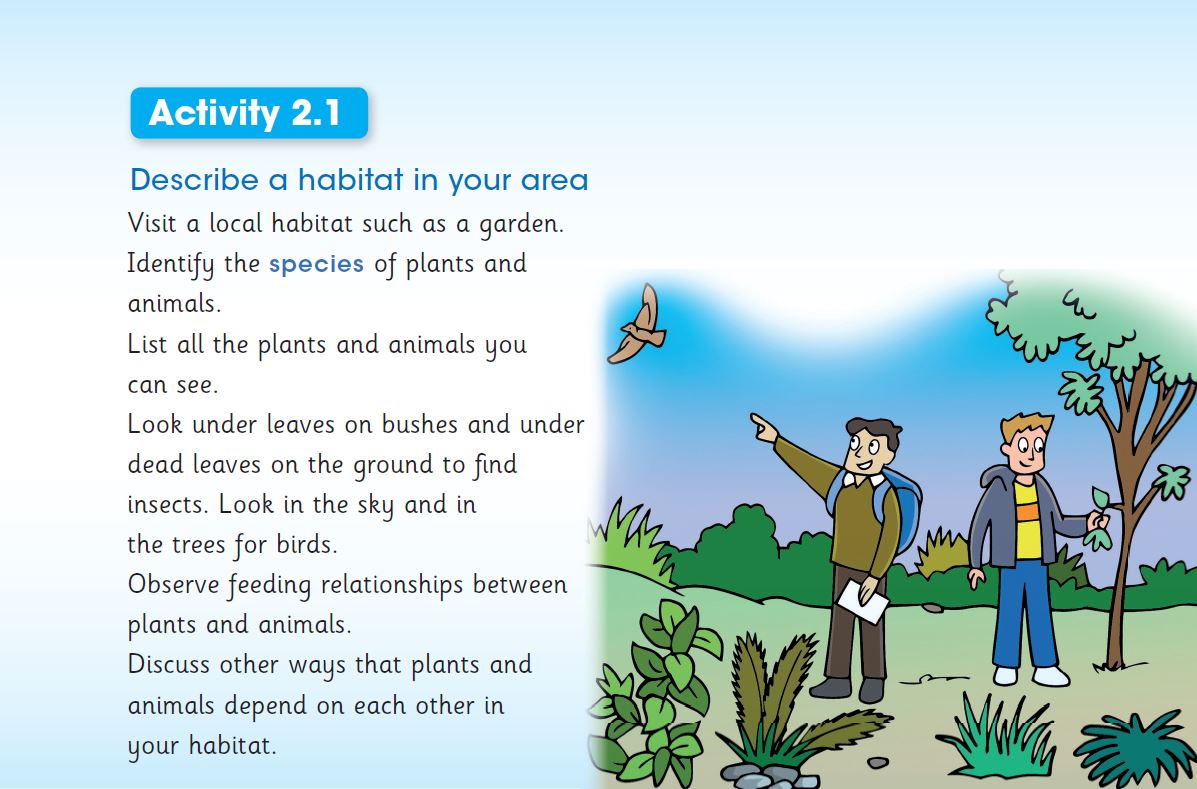
Download the 'living things in the environment' worksheet that goes with the above activity
In this activity, there are a few different tasks you could choose to use within the lesson.
These include a practical activity – identifying species of plants and animals in a local habitat – followed by a set of questions to get students using critical thinking skills, and the opportunity to discuss their findings.
But, let’s go further than this. Take a step beyond the textbook and adapt the activity based on how your students learn best and the levels that they are at.
Here are some ideas for further activities:
- Record the number of each species in a local habitat and produce a bar chart
- Present to the class explaining the species identified in a local habitat and the key learnings
- Work in pairs or groups to look at the species that they have encountered in two different habitats and create a comparison poster
- Write down what they’ve learnt about the feeding relationships between plants and animals and how they depend on each other in their habitat
2. Differentiation by personal support – prepare the whole class for a scientific experiment
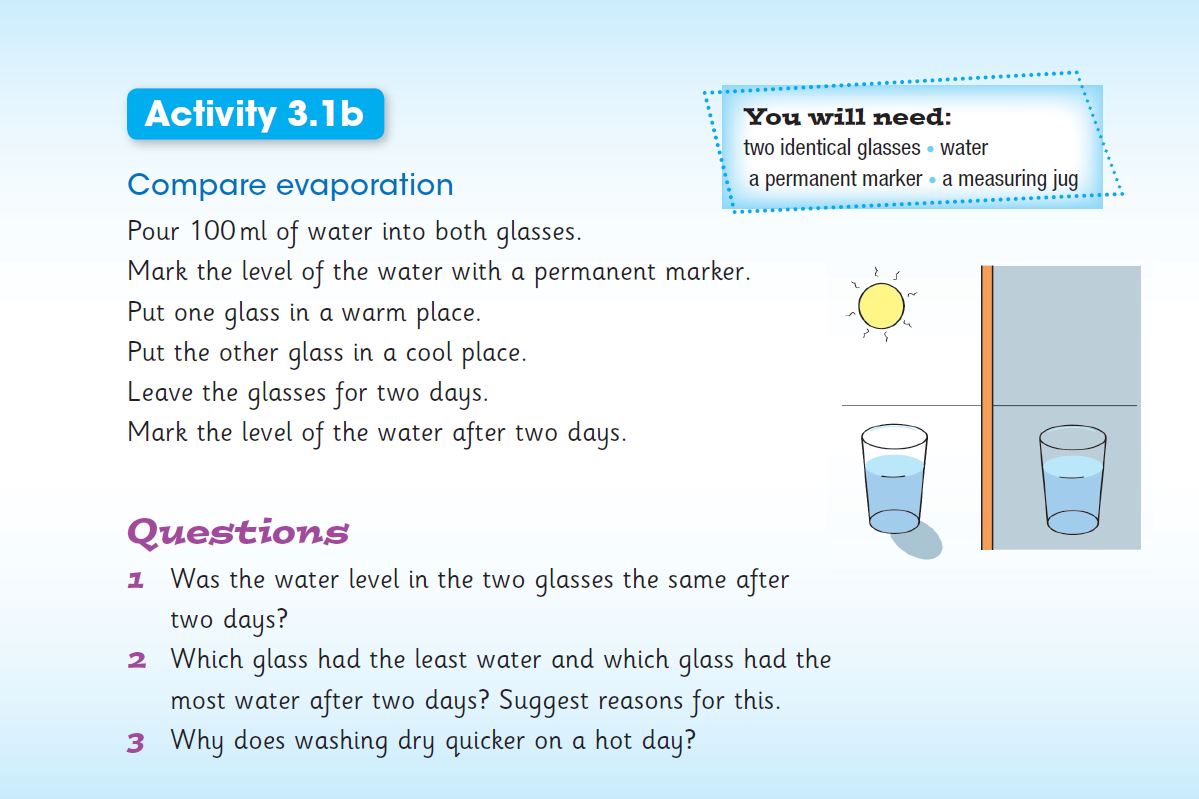
Download the 'compare evaporation' worksheet that goes with the above activity
Differentiation is based on your response to your students’ needs. Understanding who needs support and who needs additional challenge is key. You can provide both of these in the way you interact with your students, by giving them opportunities to put their knowledge to the test.
In this activity, learners must conduct an experiment to investigate the scientific process of evaporation.
Think about each student and the kind of support that they might need in order to complete the activity. Learners with more confidence may also benefit from the opportunity to test their knowledge and teach their peers in order to demonstrate their understanding.
For this differentiation activity, set up ‘help stations’ around the classroom. Allocate different corners of the classroom to different types of support. Each ‘help station’ will include an activity during which those who are less confident can learn from those who take the lead. Split the class into groups and give each group five minutes at each station.
Ideas for help stations:
- Display a range of scientific equipment and encourage the group to pick out what they will need in order to complete the experiment
- Provide a worksheet with key words from the unit – water vapour, evaporation, energy – as well as definitions, and instruct groups to pair each word to the correct definition
- Set up a ‘question and answer’ session during which learners can ask the teacher or their peers questions, in order to fill in knowledge gaps before attempting the experiment

3. Differentiation by resource – provide the correct resources to support learning
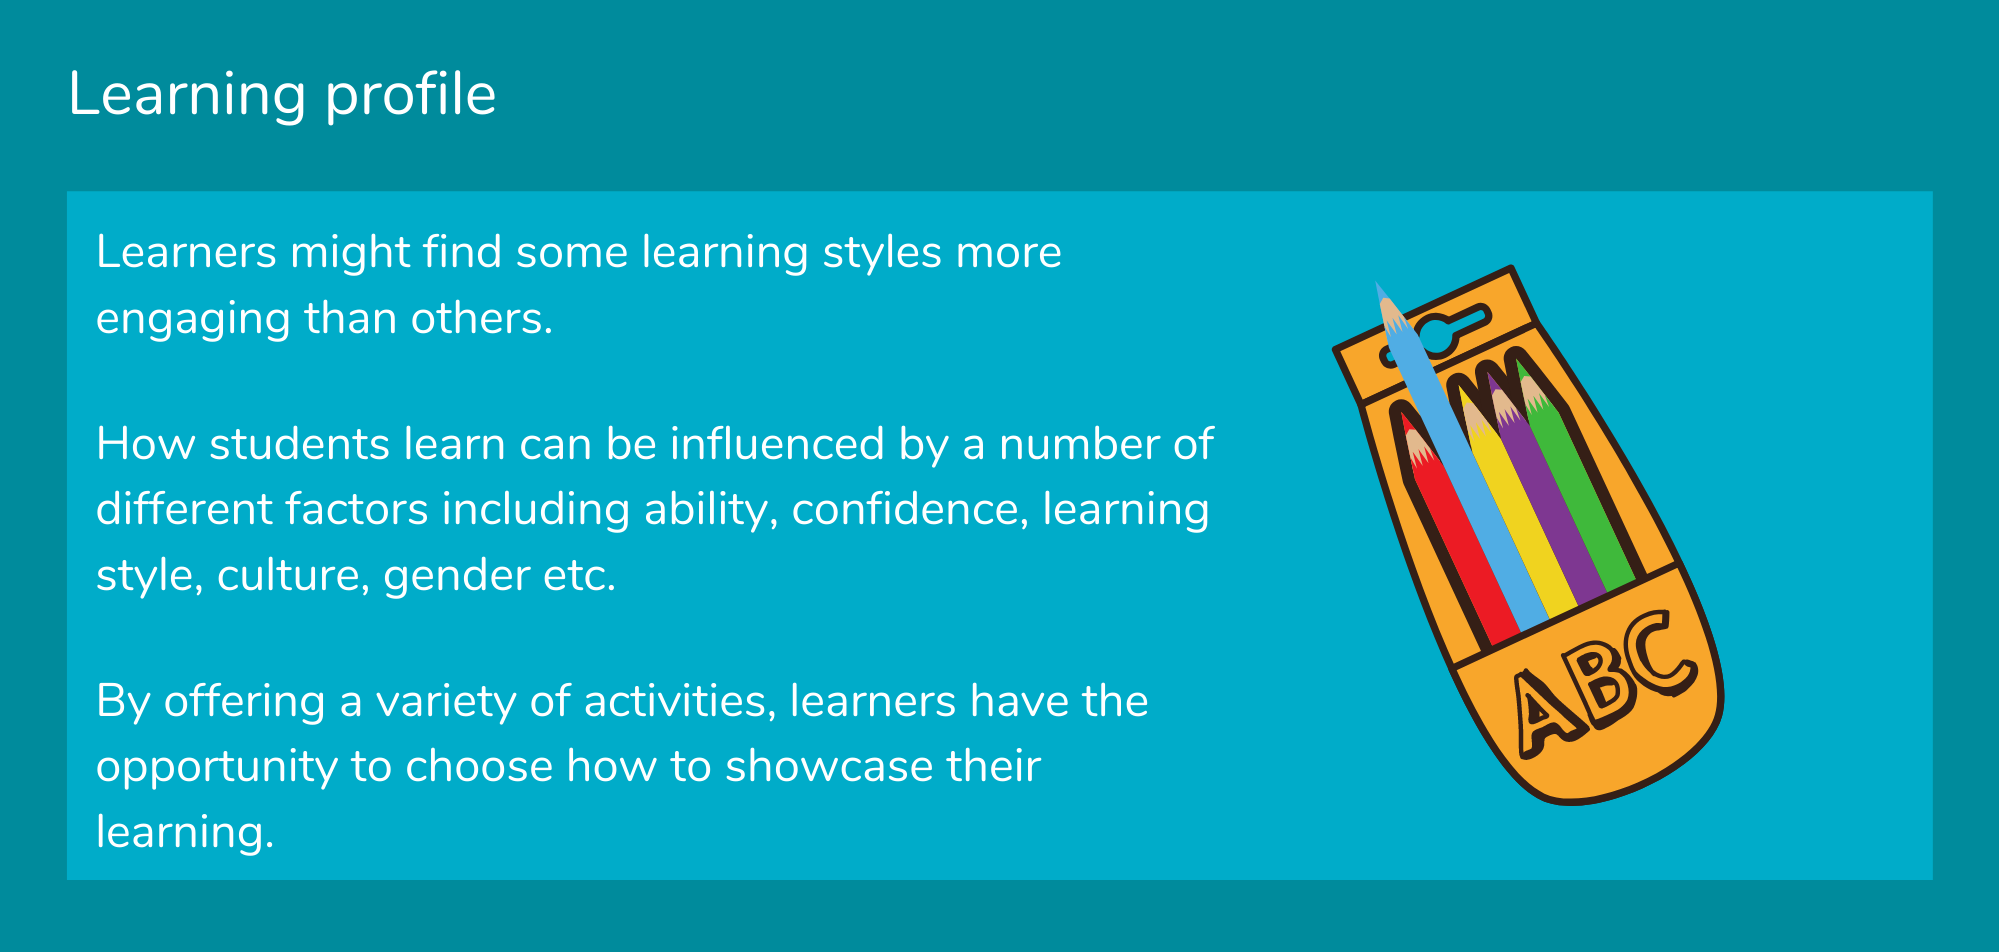
Learners may find different types of resources useful depending on the activity. Some may be visual leaners, while others may prefer to listen to a video or read about the topic.
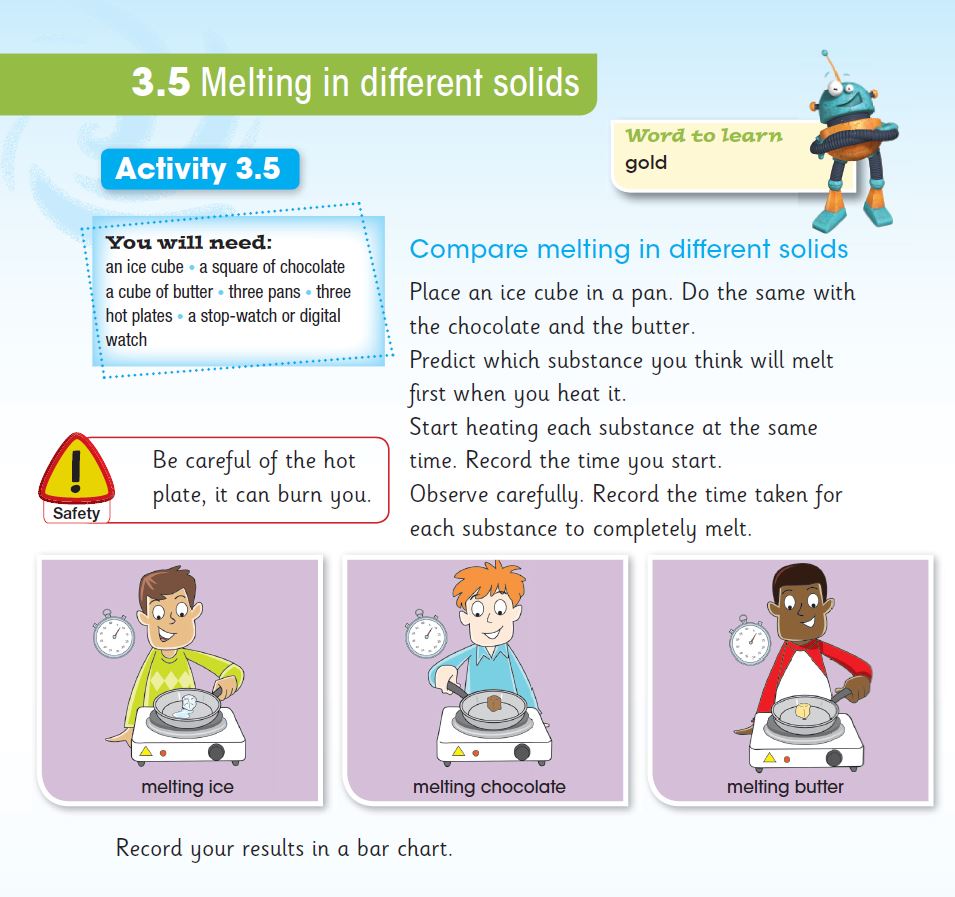
Download the 'melting in different solids' worksheet that goes with the above activity
In this section of the learner’s book, the learning outcome is for students to understand that some solids take longer to melt than others. The example describes a practical experiment, but you can use differentiated activities to help all learners prepare.
Consider the types of resources that might be useful to your students. In order for every student to achieve the learning outcome, encourage them to use a method that suits them.
For this differentiation activity, source a selection of different resources and allow students to choose which ones they would like to use.
Ideas for different types of resources:
- Find a video of a melting solids experiment and ask learners to listen and predict what they think the outcome will be
- Provide a worksheet with illustrations of different solids – chocolate, ice, butter – and ask learners to put them in order from fastest to melt, to slowest to melt
- Provide a worksheet of interesting facts, images and questions that learners can use to investigate the topic
After providing learners with these additional supporting resources, they are likely to feel more confident attempting the practical activity.
Thank you for your feedback which will help us improve our service.
If you requested a response, we will make sure to get back to you shortly.
×